


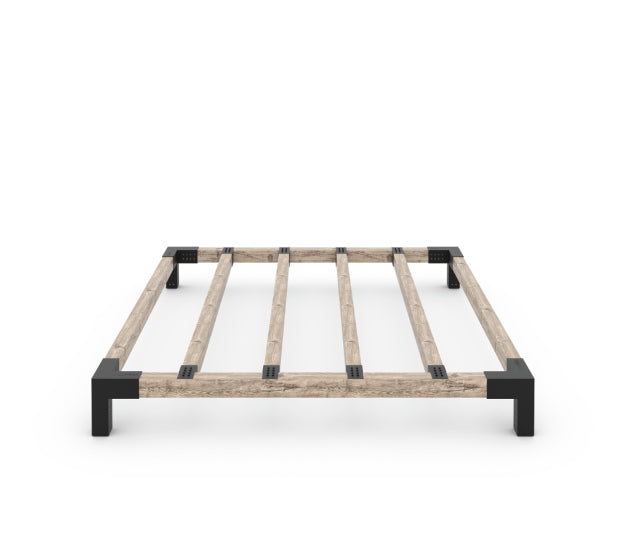
The perfect addition to your outdoor space. This quick and easy to assemble modern pergola kit.
Toja Tip: Ensure lumber is fully inserted into the bracket cavity, resting on metal tabs for proper installation.
The parts included in kits ship as retail packages.
Included
INCLUDED
- 4x TRIO corner brackets
- 4x SOLO base brackets
- 8x 4x4 KNECT brackets
- Wave Shades of chosen colour and size
- 1-1/2” Pan Rob/Phil combo drive 304 S.S Wood screws with Black plastic head caps
NOT INCLUDED
- Wood
Shipping wood is costly. Most of the population has access to stores that sell wood locally where they live. Buying your lumber allows you the freedom to select the type of wood you want to use for your build and budget. There are also regional limitations for what kind of lumber is ideal for your build; different species of lumber would be used in tropical climate vs. a cold one. - Anchoring Hardware
Due to different building materials and requirements based on location, we advise on checking building codes and talking to your local hardware store for the best securing hardware for your specific surface.
Tips
TIPS
GENERAL
WOOD
SCREWS
- Each bracket only requires 2 screws per each side/set of eight holes.
- Insert screws in holes closest to the wood.
- Hardware to secure to wood is included.
- Additional screws are available for purchase
Instructions
SINGLE WAVE SHADE TOP PERGOLA BUILD
what you need
Ladder(s)
Drill(s)
Measuring Tape
Cardboard (to be placed under the brackets to not scratch your surface or the brackets)
LUMBER
When purchasing your lumber, always take a bracket with you to ensure a proper fit.
You can select whatever lumber suits your style and budget. It must be dry and straight.
Brackets use dressed lumber.
4”x4” (3.5”x3.5”) Bracket Cavity is 3.61”x3.61”
6”x6” (5.5”x5.5”) Bracket Cavity is 5.62”x5.62”
SCREWS
Each bracket only requires 2 screws per each side/set of eight holes.
1-1/2” Pan Rob/Phil combo drive 304 S.S Wood screws with Black plastic head caps are included
Insert screws in holes closest to the wood.
Hardware to secure to wood is included.
Additional screws are available for purchase.

SECTION 1 BUILDING THE TOP
BUILDING A ‘U’: Insert your lumber into the TRIO brackets. See figure 1.
BUILDING AN ‘I’: Insert your lumber into the TRIO brackets. See figure 2.
Secure bracket to lumber with provided screws.

SECTION 2 INSTALLING RAFTERS
Build rafters. See figure 3.
Secure rafter brackets to lumber.
Space rafters out evenly across the top of your pergola. See figure 4.
Secure brackets to lumber with provided screws.


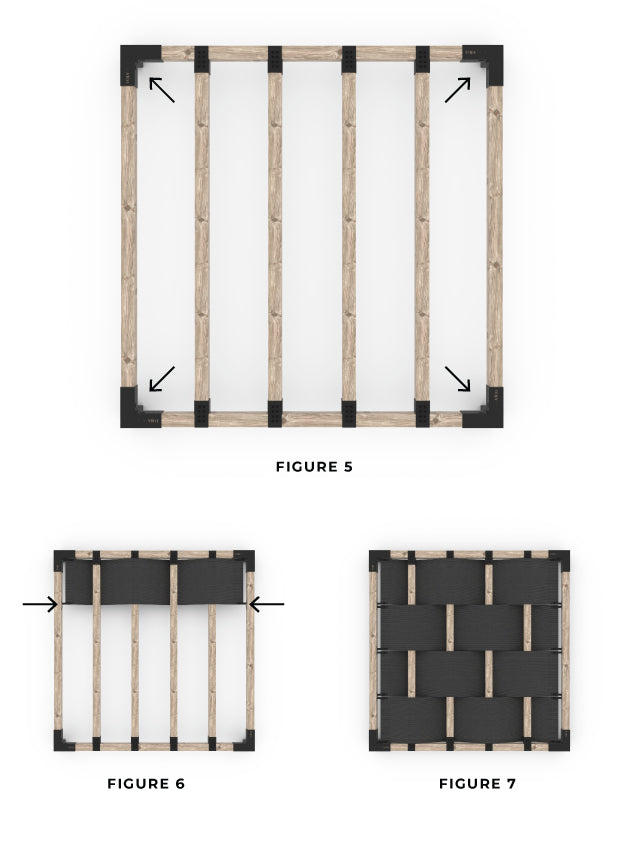
SECTION 3 ATTACHING WAVE SHADES
Attach corner mounts. See Figure 5.
Weave panel over and under rafters with buckles facing the sky. Line up the first side mount and attach. See Figure 6.
Attach buckles. With buckles facing the sky, loop strap around corner mounts, secure with buckle and pull tight.
Continue the process with all panels and mounts. See Figure 7.

SECTION 4 INSERT THE POSTS
Insert your vertical posts on the first side.
Secure bracket to lumber with provided screws.

SECTION 5 COMPLETE
Insert your lumber into side 2 to complete your pergola.
Secure bracket to lumber with provided screws.
Anchor to your surface. Remember Anchoring hardware is NOT included as surfaces will vary from build to build. A local building supply retailer will be a helpful resource.